Introduction to the Unimig Viper Series
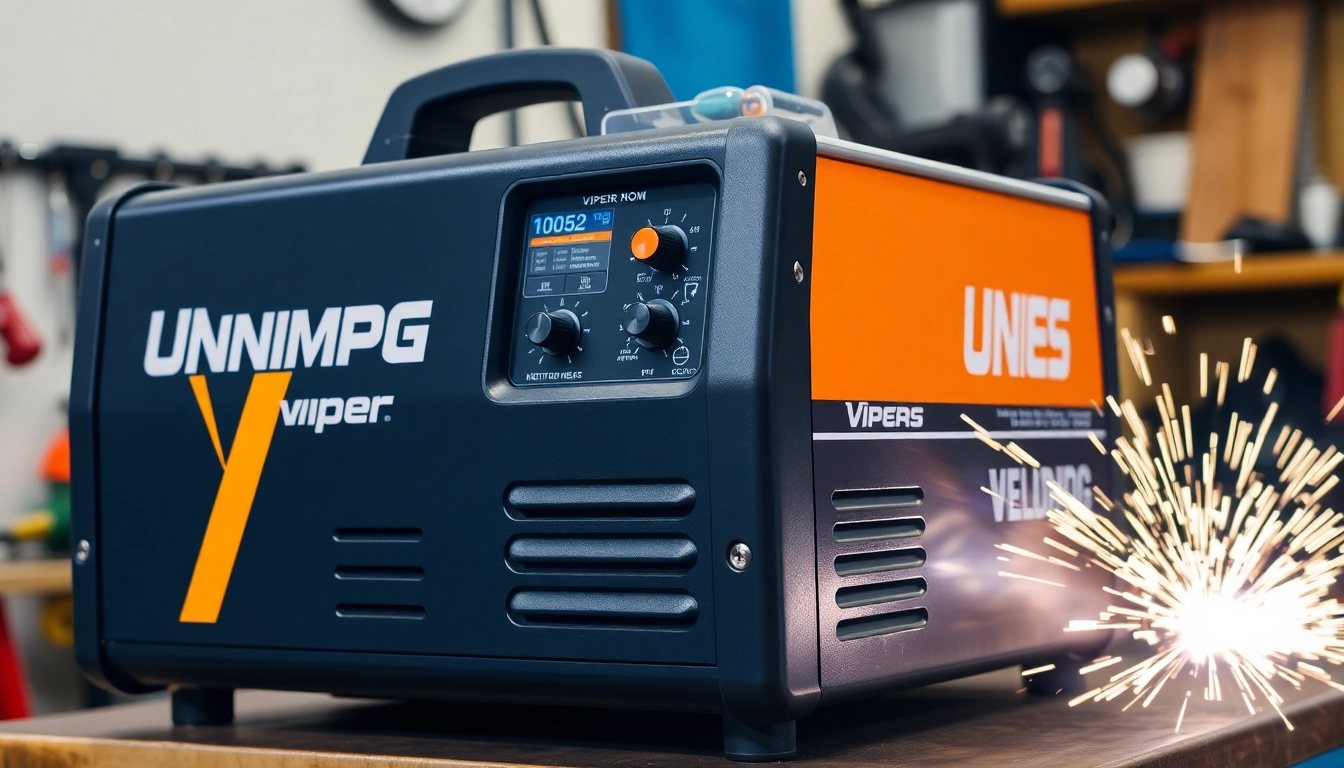
The unimig viper series is a revolutionary line of welding machines that caters to both novice and experienced welders. Created by UNIMIG, a leading name in welding technology, the Viper series includes versatile models designed for MIG, TIG, and Stick welding processes. The objective behind this series is to provide a user-friendly experience while maintaining high performance standards in various welding applications. This article offers an in-depth examination of the Unimig Viper series, comparing different models, discussing their features, optimal setup techniques, and proper maintenance practices.
What Makes Unimig Viper Unique?
The Viper series stands out in the crowded welding machinery market for several reasons. Primarily, these welders are designed for multipurpose use. They enable users to switch between MIG, TIG, and Stick welding without the need for additional machines, making them ideal for home projects, light fabrication work, and maintenance tasks. This adaptability not only caters to various welding needs but also maximizes value for the investment.
Another unique feature of the Unimig Viper welders is their compact and lightweight construction, allowing welders to move them easily across worksites or to store them conveniently when not in use. Additionally, the ergonomic design focuses on user comfort, providing ease of use for prolonged periods.
Understanding the Technology Behind Viper Welders
Unimig Viper welders utilize cutting-edge technology to enhance welding performance. For instance, the use of synergic control allows the machine to automatically adjust the voltage and wire speed according to the user’s input, optimizing the welding process for different materials and thicknesses. This feature is particularly beneficial for users who may not have extensive welding experience, simplifying the setup and improving output quality.
Moreover, the Viper series implements inverter technology, which improves energy efficiency and reduces overall operational costs. Inverter welders are lighter and more compact than traditional transformers, thereby increasing portability without sacrificing performance.
Key Features of Unimig Viper Models
The Unimig Viper series is equipped with a range of innovative features that enhance usability and versatility:
- Multi-Process Capability: Each Viper model can perform MIG, TIG, and Stick welding, making them suitable for various applications.
- Synergic Controls: This intuitive feature automatically optimizes settings for different welding materials and thicknesses.
- Portability: Compact and lightweight design allows for easy transport and storage.
- User-Friendly Interface: The control panel is designed to be simple and intuitive, helping novice welders achieve professional results with minimal experience.
- Built-In Safety Features: Thermal overload protection and automatic voltage detection enhance safety during use.
Comparing Unimig Viper Models
The Unimig Viper series consists of several models, each tailored to meet specific user needs. To choose the right welder, it’s essential to understand the differences between the models.
Viper 185 vs. Viper 195: Which is Right for You?
The Unimig Viper 185 and Viper 195 are two of the most popular options within the range. The Viper 185 is particularly well-suited for home repairs and DIY projects, supporting a wide range of materials and offering exceptional performance while operating on a standard 10 amp plug. It can weld metals up to 10mm thick and is ideal for users who are starting their welding journey.
In contrast, the Viper 195 offers enhanced capabilities, suitable for more demanding tasks and thicker materials. With increased amperage and advanced features, it caters to professionals requiring more robust equipment. The decision between these two should be based on the specific needs and the types of projects the user intends to undertake—light to medium welding tasks in the case of the Viper 185, and heavier tasks with the Viper 195.
Pros and Cons of Each Model
To make an informed decision, it’s beneficial to evaluate the advantages and drawbacks of both models:
Viper 185
- Pros:
- Lightweight and portable design.
- Cost-effective for beginners and home users.
- Versatile with multiple welding options.
- Cons:
- Lower amperage limits may restrict use on very thick materials.
- Less suited for professional applications compared to the Viper 195.
Viper 195
- Pros:
- Higher maximum output for more demanding tasks.
- Better performance on thicker and more challenging materials.
- Advanced features suitable for professional welders.
- Cons:
- Higher price point, which may not be justifiable for casual users.
- Heavier and less portable than the Viper 185.
Customer Use Cases and Testimonials
Customer feedback is critical in determining whether a product meets expectations. Many users have praised the Unimig Viper welders for their reliability and versatility. A hobbyist might share how the Viper 185 was instrumental in completing a home renovation project, effortlessly welding metals for new structures.
On the professional side, contractors have reported how the Viper 195 has been their go-to machine for on-site projects, thanks to its ability to handle different welding scenarios without requiring an extensive setup of tools. Testimonials often highlight the machine’s intuitive controls, allowing new users to achieve satisfactory results quickly.
Setting Up Your Unimig Viper Welder
Having the right setup is crucial for achieving optimal welding results. Properly preparing your Unimig Viper welder ensures not just better outcomes but also enhances safety during operation.
Essential Equipment and Accessories
To fully utilize your Unimig Viper welder, equip yourself with the following essential accessories:
- Protective Gear: Use welding helmets, gloves, and durable clothing to protect against sparks and flying debris.
- Welding Electrode or Wire: Ensure you have the correct welding electrodes for Stick or the appropriate wire for MIG or TIG operations.
- Gas Supply: If using MIG or TIG functions, a suitable gas supply such as Argon or CO2 may be needed.
- Welding Cart or Stand: For ease of use, having a mobile cart or stand to house your welder and tools is beneficial.
- Cleaning Supplies: Keep your work area and equipment clean with brushes and cloths to remove slag and spatter.
Step-by-Step Setup Guide
Setting up your Unimig Viper welder involves several key steps:
- Select Your Process: Depending on the welding task, decide whether to use MIG, TIG, or Stick welding.
- Adjust Settings: Set the appropriate voltage and wire speed for your specific project with the help of the synergic control system.
- Prepare Your Workspace: Ensure a clean area free from flammable materials and set your workpiece securely.
- Connect Power and Gas: Plug in your welder and, if applicable, set up the gas supply according to the welder’s instructions.
- Test Run: Run a test weld on scrap material to confirm that the settings provide satisfactory results.
Safety Tips for Welders
Safety should always be a priority when welding. Here are essential safety tips for using a Unimig Viper welder:
- Always wear appropriate protective gear, including helmets with rated filters, gloves, and flame-resistant clothing.
- Ensure your workspace is well-ventilated, especially when working with gas.
- Keep a basic fire extinguisher on hand in case of emergencies.
- Never operate the welder without a stable power source or gas supply, and adhere to all operating guidelines specified in the user manual.
Optimal Welding Techniques with Unimig Viper
Mastering various welding techniques using the Unimig Viper not only enhances the quality of the weld but also saves time and material costs. Below is a guide to the various techniques suitable for use with this series.
Mastering MIG Welding
MIG welding is perhaps the most user-friendly method, especially for beginners. Here are some strategies to get started:
- Understanding Wire Feed Speed: This correlates with the thickness of the material being welded. For thinner materials, lower speeds are typically more effective.
- Maintaining a Steady Travel Speed: Keeping a consistent movement across the weld bead is critical for achieving uniform results.
- Direction of Welding: For most materials, pushing the torch in the direction of the weld helps eliminate defects.
- Using the Right Gas Mix: A mix of 75% Argon and 25% CO2 is usually ideal for general-purpose MIG welding.
Advanced TIG and Stick Welding Techniques
For those who wish to delve deeper into advanced welding methods like TIG and Stick, consider the following tips:
- Precision in TIG Welding: Maintain the correct distance between the torch and the workpiece to achieve optimal heat without damaging the material.
- Proper Electrode Angle in Stick Welding: A 15-degree angle towards the work can facilitate better fusion.
- Control Your Speed: For both TIG and Stick welding, slower travel speeds can yield smoother results, especially on thin materials.
- Choosing the Right Filler Material: Ensure that the filler material matches the base metal for best results.
Common Mistakes and How to Avoid Them
Even experienced welders can fall prey to mistakes. Here are common pitfalls and how to avoid them:
- Inadequate Preparation of Material: Always clean the surfaces of the materials to remove any contaminants before welding.
- Incorrect Settings: Regularly check and adjust the voltage and wire feed settings to fit the specific metal thickness and type.
- Poor Posture: Maintain proper body positioning during welding to avoid fatigue and maintain a steady hand.
Caring for Your Unimig Viper Welder
Regular maintenance and care are key to ensuring the longevity and operational efficiency of your Unimig Viper welder.
Maintenance Best Practices
Effective maintenance practices include:
- Regularly checking and replacing worn-out components such as nozzles and contact tips.
- Cleaning the machine after each use to prevent buildup of spatter and other debris.
- Storing the welder in a dry, temperature-controlled environment when not in use.
- Consulting the manufacturer’s manual for specific maintenance intervals and recommendations.
Identifying and Troubleshooting Common Issues
Over time, you may encounter some common issues with your welder. Here’s how to troubleshoot:
- Poor Arc Stability: This can often result from incorrect settings or insufficient material preparation. Check both.
- Excessive Spatter: Adjust gas flow and check your welding speed; slower speeds usually reduce spatter.
- Wire Feeding Issues: Ensure there are no kinks in the wire and check for proper tension on the feeder mechanism.
When to Seek Professional Help
If problems persist after troubleshooting, it may be wise to consult a professional technician. Additionally, severe mechanical failures, electrical issues, or any risks to safety should prompt immediate professional assessment to avoid hazards during operation.