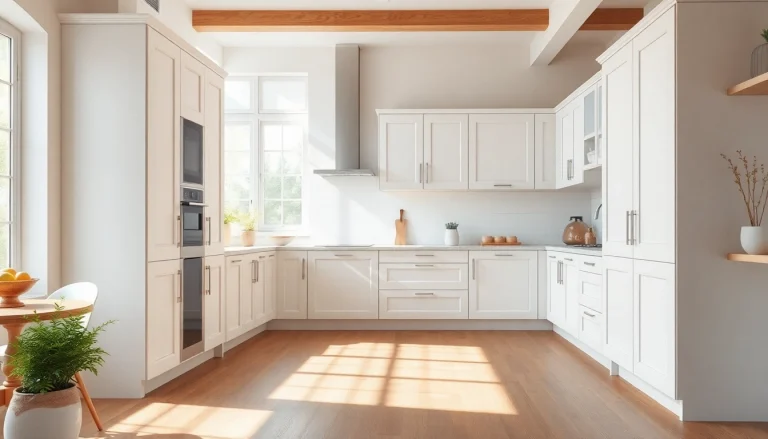
Understanding the Basics of Drywall Painting
Drywall painting isn’t just about slapping a coat of paint on a skeleton of plasterboard; it’s a nuanced process that requires understanding both the material and the method. At its core, drywall consists of gypsum plaster sandwiched between two sheets of heavy paper. It’s widely used in construction for its effectiveness and ease of installation.
Done correctly, drywall painting enhances the aesthetic appeal of your interiors while providing a protective layer to the surface. However, improper painting techniques can result in unappealing finishes or, worse, damage to the drywall itself. Here’s a closer look at what you need to know to become proficient at painting drywall.
What is Drywall and Its Significance?
Drywall, also known as gypsum board or wallboard, revolutionized interior construction with its lightweight, cost-effective, and fire-resistant properties. Most homes use drywall for walls and ceilings due to these advantages. The significance of understanding drywall painting extends beyond mere cosmetic appeal; it also involves maintaining the integrity of walls and ceilings, which can impact the longevity of your interior surfaces.
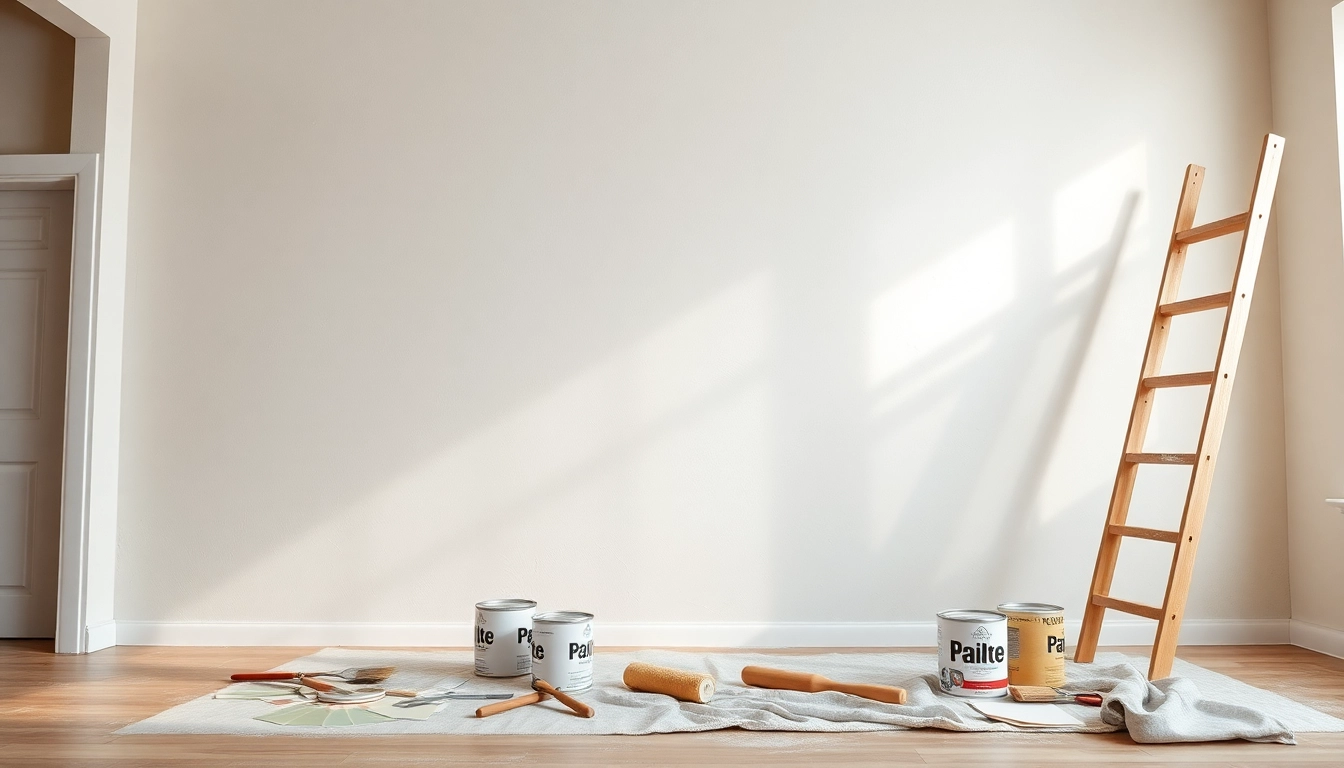
Essential Tools for Drywall Painting
To achieve a flawless drywall painting finish, having the right tools is crucial. Here’s a rundown of essentials:
- Paint Rollers and Brushes: Rollers for broad areas and brushes for edges and corners.
- Drop Cloths: Protect floors and furniture from paint splatters.
- Tape Measure: Ensure accurate measurements when preparing surfaces.
- Utility Knife: For cutting drywall and trim.
- Sanding Block: Essential for smoothing out seams and imperfections.
- Primer and Paint: Quality materials are essential for a great finish.
Common Painting Mistakes to Avoid
Even experienced DIYers can slip up during drywall painting. Common mistakes include:
- Skipping Prep Work: Not cleaning or repairing the wall surface can lead to uneven finishes.
- Using the Wrong Primer: Always use drywall-specific primer to ensure paint adhesion.
- Applying Too Many Coats: Less is often more; excessive coats can cause drips and uneven color.
Preparation Steps for Drywall Painting
Cleaning and Repairing the Drywall Surface
Before you even think about applying paint, proper preparation is key. Start by cleaning the drywall surface to remove dust, grease, or previous paint that could interfere with adhesion. Use a vacuum followed by a damp cloth to ensure all particles are gone.
Next, inspect for any imperfections—such as dents, holes, or cracks—in the drywall. Small damage can typically be filled with a joint compound, while larger areas may require patches. After applying compound and allowing it to dry, sand the area smoothly with a sanding block to give you an even surface for painting.
Choosing the Right Primer for Drywall
The right primer forms the backbone of a successful painting project. While some may think skipping primer saves time, it often leads to poor adhesion and an unprofessional-looking result. Opt for a high-quality PVA (Polyvinyl Acetate) primer specifically designed for drywall. This type of primer seals the porous surface and aids in paint adhesion.
Proper Techniques for Taping and Sanding
Effective taping and sanding are crucial to achieving a seamless look. Use joint tape to cover the seams between drywall sheets, ensuring that it’s embedded properly in joint compound. Once dried, sand the seams lightly until they’re flush with the surface. A technique known as feathering—gradually decreasing thickness of the compound towards the edges—helps blend the repair areas with the surrounding drywall.
Choosing the Right Paint for Drywall
Types of Paint Suitable for Drywall Painting
Not all paints are created equal, especially when it comes to drywall. While acrylic and latex paints are commonly used, selecting the right type depends on the room and desired finish. For example:
- Acrylic Paint: Great for non-moisture-prone areas (like living rooms).
- Latex Paint: Ideal for humid situations, making it perfect for kitchens and bathrooms.
Understanding Paint Finishes: What Works Best?
Paint finishes can dramatically affect the look and feel of your space. Common finishes include:
- Flat: Hides imperfections effectively but is less durable.
- Satin: Balances durability with aesthetics, suitable for most interiors.
- Gloss: Highly reflective and durable, but it can show imperfections easily.
How to Test Paint Colors on Drywall
Testing paint colors is vital for ensuring the final look matches your vision. Use sample pots and apply a small area on the wall to evaluate how it looks in different lighting throughout the day. This technique can prevent costly mistakes later in the painting process.
Step-by-Step Guide to Painting Drywall
Painting Prep: Setting Up Your Workspace
A well-organized workspace simplifies the painting process. Start by moving furniture and covering everything with drop cloths. Ensure you have all your tools easily accessible. Good lighting can make a huge difference, so consider using bright overhead lights or additional lamps to see every detail.
Applying Primer and Its Importance
Once the prep work is complete, begin applying the primer. Use a roller for large surfaces and a brush for edges. Apply an even coat and ensure it dries completely before continuing. The primer lays the groundwork, ensuring your paint adheres properly and looks its best.
Effective Painting Techniques for a Smooth Finish
Painting should be done in a series of systematic steps to achieve a professional-looking result. Start with the edges using a brush, then apply paint to the larger areas using a roller. Always paint using a “W” motion to evenly distribute paint and minimize streaks. If needed, apply a second coat after the first has dried to achieve optimal coverage and color consistency.
Maintaining Your Drywall After Painting
Cleaning and Caring for Painted Drywall
After the painting project is finished and dried, maintaining your drywall is vital for longevity. Regularly dust or lightly wash surfaces to prevent buildup. When cleaning spots or stains, use a soft cloth and mild detergent rather than harsh chemicals, which could harm the paint finish.
How to Handle Touch-Ups and Repairs
Over time, walls may incur scratches, dents, or color fading. For touch-ups, ensure compatibility of the new paint with existing paints, and use the same applicator method (brush or roller). If the area is larger, you might need to repaint the entire section to ensure consistent color and texture.
Longevity: When to Repaint Your Drywall
Understanding when to repaint is as essential as knowing how to paint. Factors include room usage, color choice, and exposure to elements. Generally, it’s advisable to repaint every 5-7 years, but high-traffic or high-moisture areas may require more frequent updates to maintain aesthetic and functional integrity.